You can upload pictures, documents, presentations, videos and audio files to Libtee, and use them in folders and classes. There are two ways: a quick upload in My storage, and the upload page, where you give each file its details before saving.
Quick upload in My storage
Drag files from your computer onto the list in My storage. You can also click New, choose Upload files, and drop or choose files. Each file is saved right away in the open folder, with the file's name as its title. Files you drop on a folder's card go into that folder. A list in the corner of the screen shows how each upload is going.
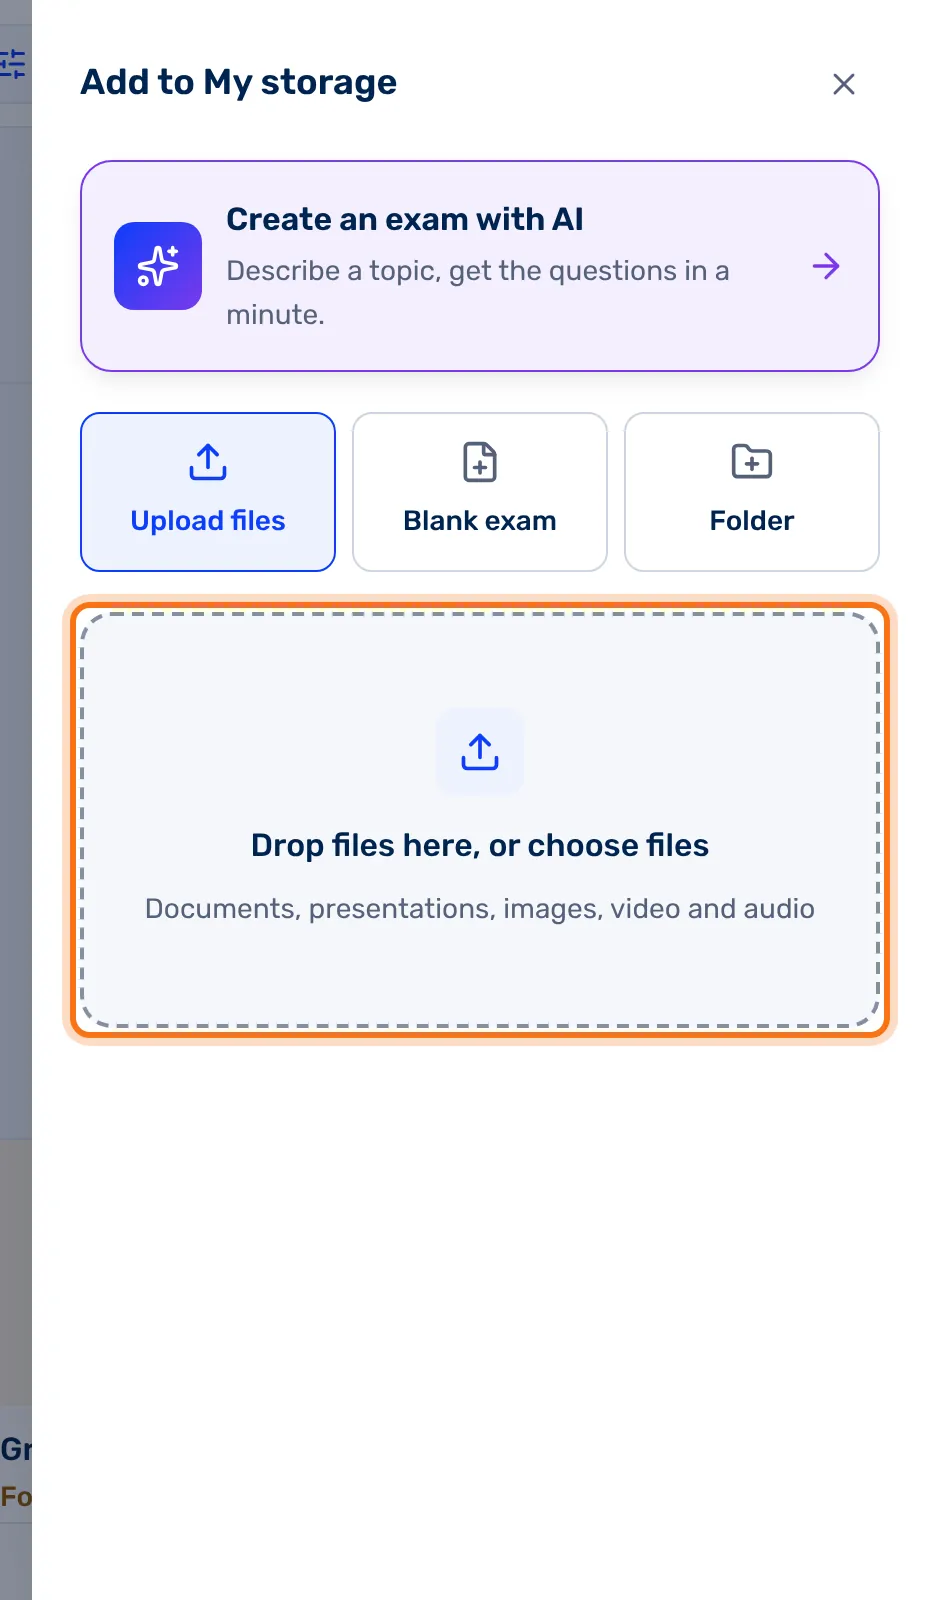
Tip: Files you upload in My storage while a folder is open are pinned to it: they show inside the folder, not in the main list. More about pins: Folders.
The upload page
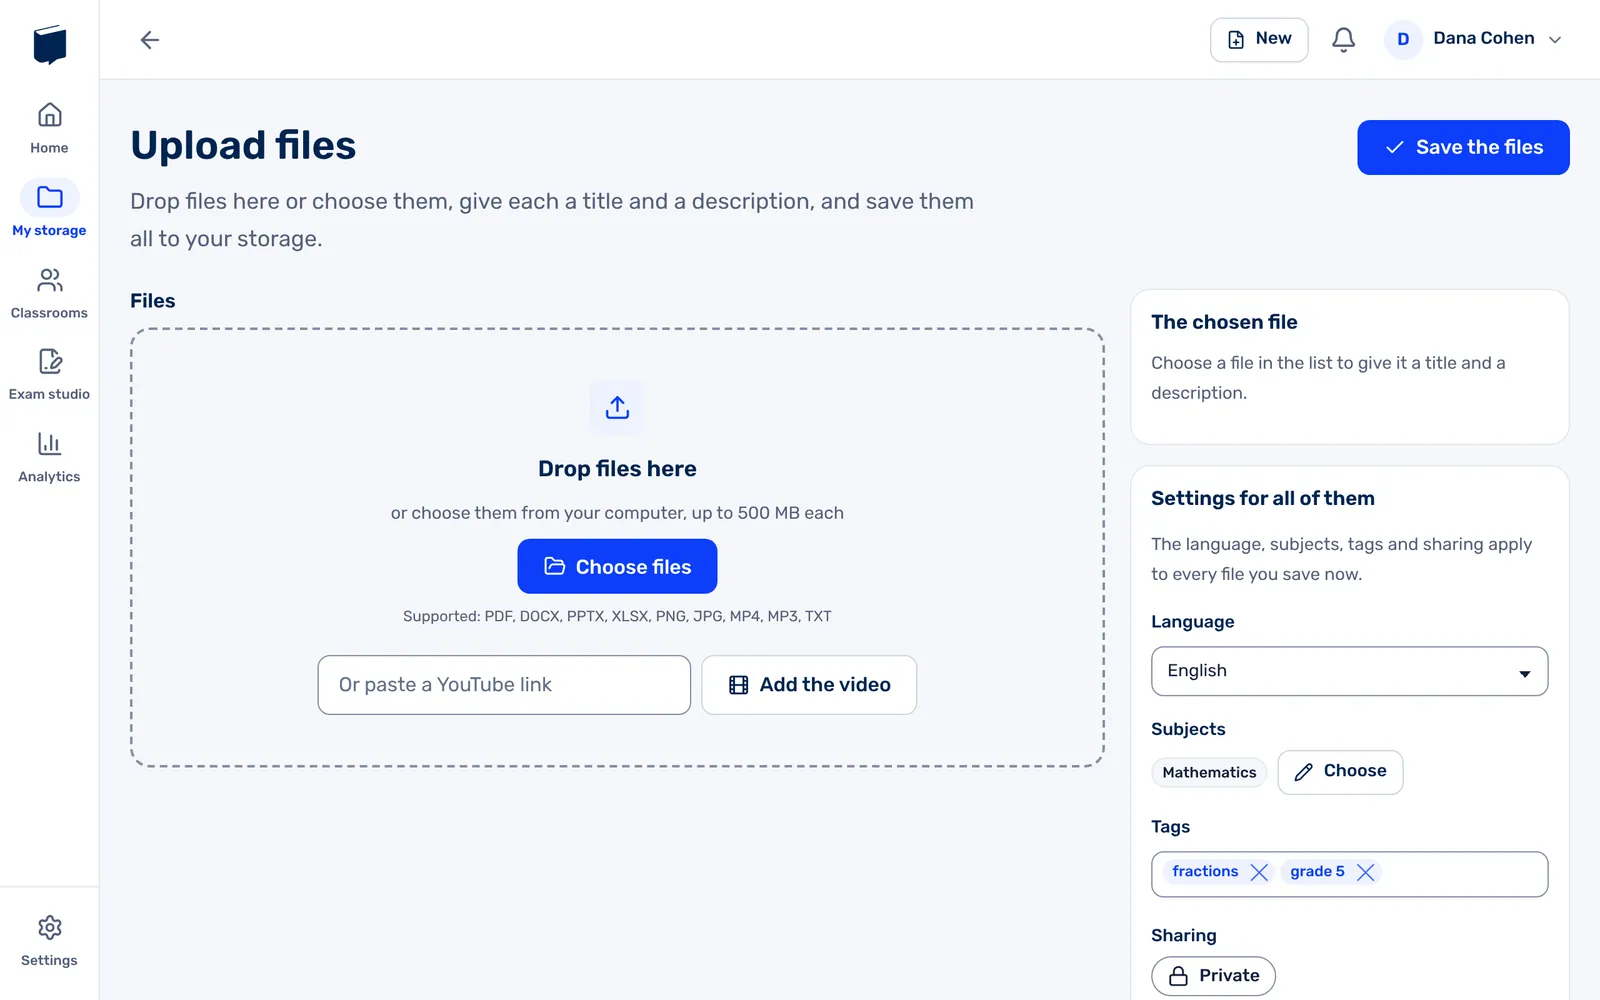
Open it from Upload files on the home page, or from inside a folder: Add, then Upload files. From a folder, the settings start with the folder's subjects, tags and language.
- Drag files to Drop files here, or click Choose files. Each file can be up to 500 MB, and the types you can upload are listed under the button.
- Each file shows as a tile with a thumbnail, its name and size. To add more, click More files.
- Click a tile to open its details at the side, under The chosen file: Title, Your name for it, Description and Your notes. Each field says who sees it.
- Fill in Settings for all of them: language, subjects, tags, sharing and audience. They apply to every file you save now.
- Click Save the files.
The title and your name for the file start as the file's name, and you can change them. Fields your account requires are marked with an asterisk. After saving, you go to My items, or back to the folder.
A video from YouTube
Paste a link to the video in Or paste a YouTube link and click Add the video. Once there are files in the list, click the From YouTube tile instead. The video joins the list like any file, with its YouTube title and description, and its keywords are added to the tags. A link that isn't YouTube's isn't accepted.
A file's page
To edit a file you've uploaded, open it from My items, or from a folder with its Edit button. The page shows its preview, with the details and settings at the side. At the top:
| Button | What it does |
|---|---|
| Download | Downloads the file to your computer. |
| Replace the preview | Uploads a picture of your own (JPG, PNG or GIF) to show instead of the preview made from the file. |
| Replace the file | Uploads another file in place of this one. The details and settings stay. |
| Save | Saves your changes, including a replaced file or preview. |

The preview
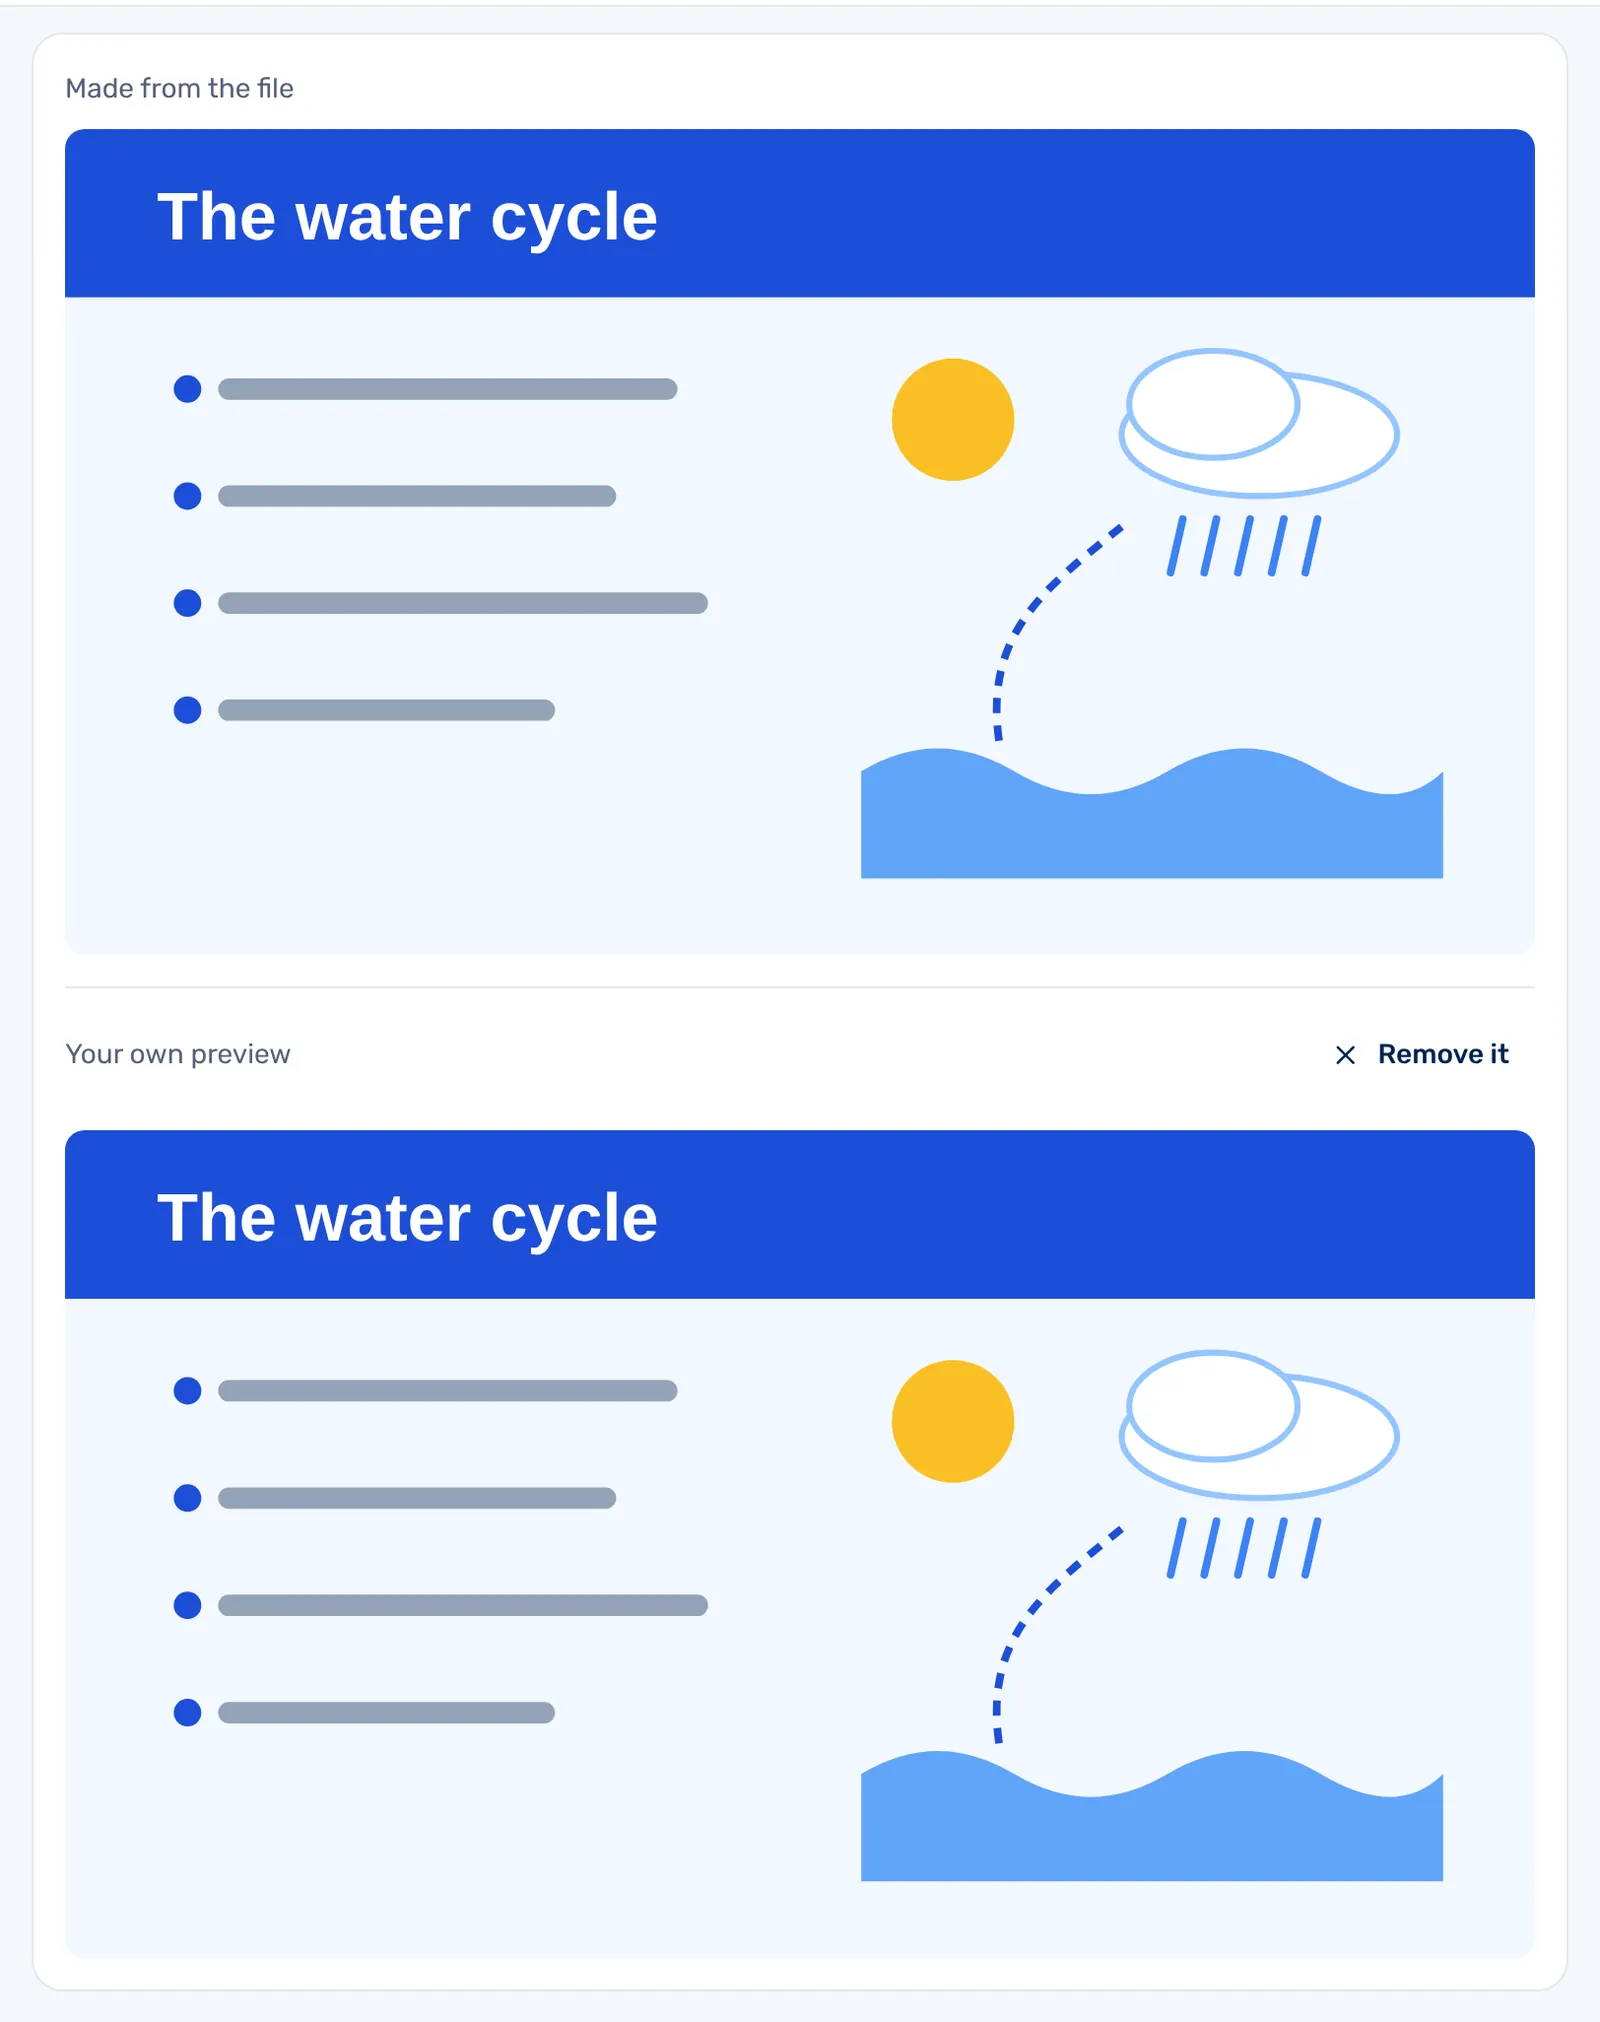
Libtee makes a preview from most files: a picture, a video, a sound, or a picture of the document. It's marked Made from the file, and while it's being made you see Its preview is still being made. When no preview can be made from the file, a ZIP file for example, you see No preview could be made of this file. You can add a picture to show instead. A picture you upload with Replace the preview shows under Your own preview, and Remove it brings back the one made from the file.